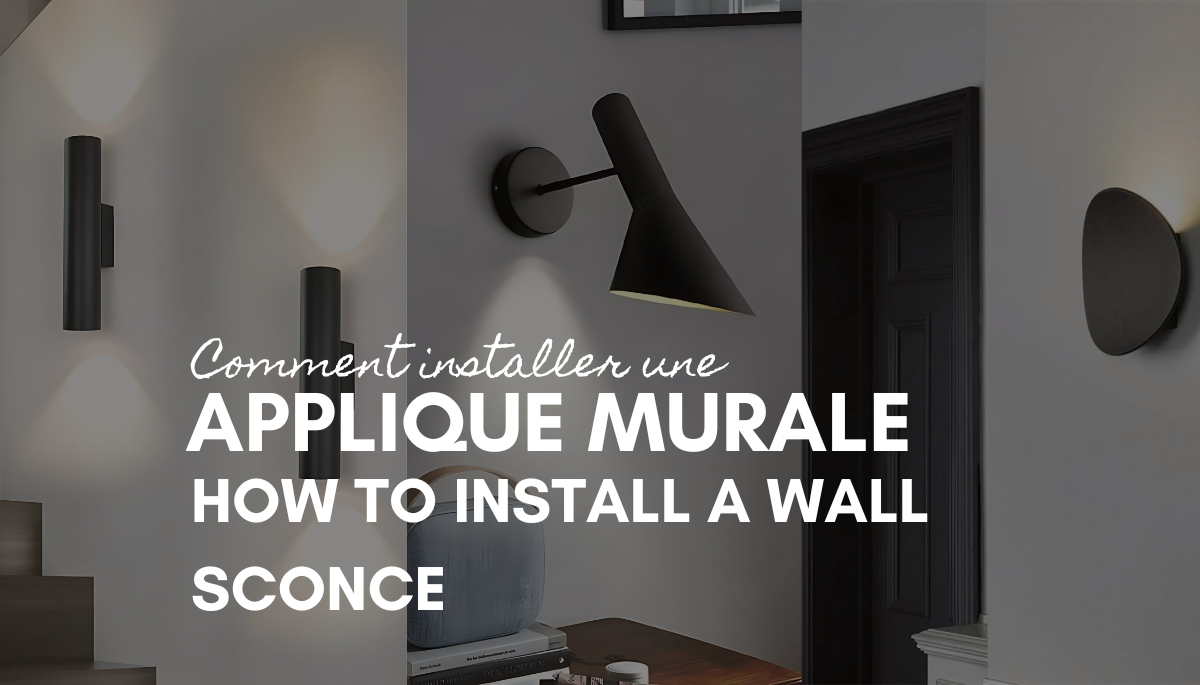
Wall sconces are a simple and elegant way to transform your spaces.
They not only add a touch of style to your interior but also provide functional and focused lighting.
Whether you want to highlight a piece of art, create a cozy ambiance, or simply modernize a room, installing a wall sconce can make all the difference.
Wall sconces have become essential elements of interior design, and for good reason.
They combine aesthetics and practicality, providing focused lighting while adding a unique decorative touch to your walls.
An aesthetic and elegant solution
The wall sconce is much more than just a light fixture: it’s a true design element.
Thanks to the variety of styles available, it can adapt to any decorative theme.
Whether you prefer a modern and minimalist look, vintage charm, or an industrial vibe, you’re sure to find a model that complements your interior.
Moreover, unlike floor lamps or table lamps, wall sconces don’t take up any floor or furniture space.
They are perfect for optimizing a room without adding visual clutter, especially in smaller spaces.
Wall Sconce - RING - Glowe-Studio
A functional and versatile lighting solution
Wall sconces are not limited to their aesthetic appeal; they are also highly practical.
You can use them in various ways depending on your needs:
Ambient lighting: A sconce emitting soft light can transform the atmosphere of a living room or bedroom into a warm and calming space.
Task lighting: In a reading nook or above a desk, an adjustable sconce allows you to direct light exactly where it’s needed.
Accent lighting: Want to draw attention to a painting or a decorative shelf? A well-placed sconce is perfect for highlighting these features.
An installation suitable for every room
Another advantage of wall sconces is their ability to adapt to every room in the house.
In a living room, they add character above a sofa or on a decorative wall.
In a bedroom, they effectively replace bedside lamps, freeing up space on your nightstands.
In a hallway or entryway, they provide functional lighting while enhancing often-overlooked walls.
Minimalist wall sconce - FORTUNA - Glowe Studio
A wide range of styles and functionalities
Today’s wall sconces offer numerous options to suit your needs.
Some come with dimmers to adjust the light intensity, while others feature built-in switches for added convenience. There are even smart models that can be controlled remotely, making them a perfect addition to a smart home.
In summary, installing a wall sconce is both a practical and decorative choice. These fixtures seamlessly integrate into any space while enhancing the aesthetics and functionality of your interior.
Essential steps before installing a wall sconce
Installing a wall sconce requires some preparation to ensure an aesthetic, functional, and safe result.
Here are the key steps to follow before you get started.
1. Choose the ideal location
The location where you install your wall sconce plays a crucial role in its functionality and visual impact.
Adapt to the purpose: Ask yourself how the sconce will be used. Will it serve as ambient lighting? Illuminate a reading nook? Highlight a piece of art? These answers will determine its placement.
Consider the height: The ideal installation height is usually between 1.50 m and 1.80 m from the floor. However, adjust this height based on its function:
For ambient lighting, stick to a standard height.
For a reading nook or desk, position the sconce slightly lower for directional lighting.
Think about aesthetics: If installing multiple sconces, ensure they are aligned and evenly spaced to create visual harmony.
2. Check the electrical requirements and necessary tools
Before getting started, ensure everything is ready for the installation.
Electrical connection point: Check if the wall has existing wiring. If not, you may need to hire an electrician to create a power source.
Compatible bulbs: If your sconce doesn’t come with a bulb, make sure to choose a compatible model (e.g., an LED bulb for better energy efficiency).
Essential tools: Gather a drill, wall plugs suitable for the wall type (drywall, concrete, etc.), a screwdriver, a spirit level, and a cable detector to avoid unpleasant surprises while drilling.
3. Prioritize safety and electrical compliance
Safety is paramount when working on an electrical system.
Always turn off the power: Before handling electrical wires, make sure the power is turned off at the circuit breaker. Use a voltage tester to ensure the wires are no longer live.
Adhere to electrical standards: In France, installations must comply with NFC 15-100 standards. If you have doubts about your setup's compliance, consult a professional.
Use appropriate protection: Wear insulated gloves if needed and avoid working with wet hands or on an unstable surface.
How to wire a wall sconce?
Wiring a wall sconce might seem intimidating if you’re not familiar with electrical wires.
However, with a bit of method and patience, it’s a completely manageable task.
Here’s everything you need to know to succeed in this step.👇
Before starting, familiarize yourself with the different wires you’ll encounter:
The blue wire: This corresponds to the neutral.
The brown or red wire: This is the live wire that carries the current.
The green/yellow wire: This is the ground, which ensures safety in case of a fault.
Some sconces, particularly double-insulated models, don’t require a ground connection.
If you’re unsure about your setup, check the user manual for your sconce or consult a professional.
Step by step: preparation, wiring, and mounting
Prepare the mount Start by marking the mounting points on the wall using your sconce's bracket. Ensure the placement is level and at the desired height. Drill the holes and insert wall plugs suitable for your wall type (drywall, concrete, etc.). Secure the bracket to the wall using the provided screws.
Turn off the power Before any handling, turn off the power at the main circuit breaker. Use a voltage tester to confirm the wires are no longer live.
Connect the wires
Strip about 1 cm of insulation from the electrical wires if not already done.
Connect each wire to the sconce’s terminal block:
The blue wire to the neutral terminal.
The brown (or red) wire to the live terminal.
The green/yellow wire (if necessary) to the ground terminal.
Tighten the screws firmly to ensure good contact, but avoid over-tightening to prevent damage to the wires.
Mount the wall sconce Once the wiring is complete, attach the sconce to its wall bracket following the manufacturer’s instructions. Ensure it is securely fixed and stable.
Test the installation Restore the power and turn on the sconce. If everything works, congratulations! If not, turn off the power again and check your connections.
Common mistakes to avoid
Forgetting to turn off the power: This is the most dangerous mistake. Always ensure the power is off before handling any wires.
Mixing up the wires: Connect each wire to the correct terminal. A mistake could damage the sconce or cause a short circuit.
Improperly securing the sconce: If it’s not properly screwed in, the sconce may move or fall, posing a safety risk.
Using unsuitable tools: Incorrect wall plugs or screws can weaken the mounting, especially on drywall or uneven surfaces.
With these clear steps and precautions, you can wire a wall sconce with confidence.
If you encounter any difficulties or have doubts, don’t hesitate to seek advice from an electrician.
A well-lit wall is also a safe wall! 😊
Tips for a successful installation
Installing a wall sconce isn’t just about electrical wiring; it’s also about aesthetics and precision. Here are some tips to ensure a result that is both functional and polished.
1. How to choose the right height
The ideal height depends on the purpose of the wall sconce, but a general rule is to place it between 1.50 m and 1.80 m from the floor.
Here are some specific adjustments:
For ambient lighting: Place the sconce slightly above eye level (1.70 m is a good average) to diffuse soft light without glare.
For a reading nook or desk: Position the sconce lower, at about 1.40 m from the floor, so the light is directed toward the reading area.
In a hallway or entryway: Maintain a uniform height to create visual continuity and avoid lighting that is too low or too high.
Pro tip? Consider harmony with other wall elements (paintings, shelves) for a balanced look.
2. Tips for clean and stable drilling
Poor drilling can compromise the sconce’s stability and damage your wall. Here’s how to do it right:
Use a spirit level: Before drilling, ensure the mounting points are perfectly aligned. Even a slightly crooked sconce can ruin the visual effect.
Mark the drilling points: Position the sconce bracket on the wall, then mark the holes with a pencil.
Protect your wall and floor: Stick a piece of tape below the drilling area to catch dust. You can also lay down cardboard or a tarp to protect your floor.
Choose the right wall plugs: The type of wall plug is crucial.
For concrete walls: Use special concrete plugs.
For drywall: Opt for Molly plugs, designed for hollow walls.
Take your time; a solid mount ensures a stable and durable sconce.
3. How to hide cables for a neat finish
Exposed cables can quickly make a space look untidy. Thankfully, there are several ways to hide them for a clean and elegant finish:
Use cable covers: Available in various sizes and colors, they allow you to conceal and protect the cables. For a subtle result, choose a color that matches your wall.
Embed the cables in the wall: If you’re willing to undertake additional work, you can recess the wires directly into the wall. This provides a flawless finish but requires careful preparation and may involve repainting or reapplying wallpaper.
Opt for a sconce with a decorative cord: If hiding cables is challenging, choose a model with an attractive cord. Some lights feature fabric-covered wires or unique designs that turn the cord into a decorative element.
Wall-mounted cable covers: Another practical solution is to use flexible conduits that can be directly affixed to the wall.
FAQ: Common Questions About Installing a Wall Sconce
Can I install a wall sconce without a wall outlet?
Yes, it is entirely possible to install a wall sconce without an existing wall outlet. You have two options:
Use a sconce with an exposed power cord: These models can be plugged directly into a standard wall outlet. The cord can become a decorative feature, especially if it’s fabric-covered or matches your interior color scheme.
Create a power source: For a cleaner look without visible cords, hire an electrician to add a wall power connection. This requires more work, but the result is perfectly integrated.
How can I install a wall sconce without drilling?
To avoid drilling into your walls—especially if you’re renting or dealing with delicate surfaces—here are some alternatives:
Adhesive mounting: Strong adhesive strips or pads can be sufficient for lightweight sconces. Be sure to choose an adhesive suitable for your wall type and the sconce's weight.
No-drill hooks or wall supports: Some solutions, like self-adhesive hooks or pressure-mounted systems, allow you to mount sconces without damaging the wall.
Floor-standing or mobile models: If you prefer not to drill, consider floor-standing wall sconces or lights that can be attached to furniture.
What tools are needed?
For a standard installation, here is a list of essential tools:
A drill and drill bits suitable for the type of wall (plasterboard, concrete, brick).
Wall plugs and screws appropriate for the weight of the wall light.
A screwdriver to secure the screws and make the electrical connections.
A bubble level to ensure perfect alignment.
A cable detector to avoid drilling into electrical conduits.
A wire stripper to prepare the electrical wires, if necessary.
Call an electrician for the installation of a wall light.
Although the installation of a wall light is often manageable, certain situations require the intervention of a professional.
Calling an electrician, whether a local tradesman or a platform like Yoojo, can save you a lot of trouble while ensuring a secure and aesthetic installation.
When is it preferable to call an electrician?
Absence of electrical connection point: If the wall where you want to install your wall light does not have an electrical supply, an electrician can create a new access point in compliance with current regulations.
Uncertainty about your electrical network: If your installation seems outdated or non-compliant, it’s better to entrust the work to a professional to avoid any electrical risk.
Complex work: For embedding wires into the wall or installing a dimmer, the intervention of an experienced electrician ensures a clean and functional result.
Lack of time or tools: If you’re not equipped or prefer to delegate, a professional will take care of everything in record time.
And why not go through Yoojo?
Yoojo (formerly Youpijob) is a platform that connects you with qualified craftsmen near you. It’s an ideal solution to quickly find a trustworthy electrician at a competitive price.
Advantages of Yoojo:
Simplicity: You post your need in a few clicks, and you receive proposals from professionals.
Transparency: Prices are clear, and you can check reviews left by other users.
Flexibility: You choose a craftsman based on your criteria (price, proximity, availability).
A guarantee of safety and peace of mind
Calling a professional, especially through a reliable platform like Yoojo, allows you to enjoy your new wall light with peace of mind. You avoid wiring mistakes, unstable installations, or electrical compliance issues. And most importantly, you save time!
Conclusion
Installing a wall light is both a practical task and an opportunity to enhance your interior.
Whether you’re looking to light up a specific corner, create a warm atmosphere, or highlight a decorative piece, these wall lights are a versatile and aesthetic solution.
However, a successful installation requires a bit of preparation.
Take the time to carefully choose the location, use the right tools, and follow the steps with attention.
And if you have any doubts, don’t hesitate to seek advice from a professional.
Wall lights are elements with strong decorative potential.
By installing them carefully, you’ll transform your spaces while enjoying lighting that suits your needs.
So, go ahead and give your walls a touch of light and style! 😊